When talking of the embouchure in my post of 17/8/19 I was concentrating on the effect that Benade's ideas had on my own work. Now however I'd like to discuss what is perhaps at the heart of transverse flute making in a lot more detail.
I think anyone who has tried to make a flute of any kind, has been more disconcerted by the challenge of constructing a functional embouchure than any other aspect of the process. Most sets of flute plans or drawings that are available, will of course give the position of the embouchure, and its basic external dimensions and shape. It's what's happening "under the surface" as it were, that causes (or solves) the problems.
It doesn't take long for the aspiring maker to realise that the embouchure, even on early flutes, where it is generally circular, is not simply a parallel sided hole, and even given the difficulties of measuring the internal bore dimensions, it's manifestly more difficult to measure the embouchure in any meaningful way. A cursory examination will reveal that the first general principle is that the embouchure gets larger as it approaches the bore. The observant will also note that this expansion does not seem to be radially symmetrical, i.e. front, back, and sides are not the same.
One visual aid which can help examination of embouchures is a small mirror which fits loosely into the bore of the head, coupled with a light source of some sort which will also fit inside. This allows observation of the embouchure from the inside out.
Possibly the most useful means of visualising the shape of an embouchure is to take a cast of it. Normally considered as a means of documenting historical flutes (largely, if not entirely, now forbidden in museum collections ) it's also a very useful technique for the modern maker, if only to check that what they are trying to do, is actually what they're doing.
If you have access to it, dental impression material is ideal for this purpose...just be sure to use some type of releasing agent ( Vaseline, or silicon grease both work well)
A brief historical survey of embouchures shows a move from small circular via oval, to parallelogram ( roughly speaking), increasing in size from the initially tiny baroque embouchures to the practical limit of a playable embouchure, which, it could be argued is not much greater than 12mm x 10mm. The common feature is that they all get wider approaching the bore, and that this is rarely if ever in a regular fashion.
In the "Introduction to Flute Making" courses that I've taught for the Ballyfermot College of Further Education under the auspices of Na Piobairí Uilleann I've tried to break down the basic principles of embouchure design, and we did a series of experiments looking at some of the most basic parameters, such as size and depth. Using a delrin sleeve over a standard head tube ( see blog post 17/2/2016 Dante's Satan ) we drilled simple round parallel holes through the sleeve which could then be made to act as the embouchure. One advantage of this approach was that it was possible, using different barrels, for students to try these embouchures on their own flutes, and thus be able to attribute any differences to the change in the embouchure alone. Starting with size ( in this case diameter alone ) we drilled holes of 8, 10, 12, and 14 mm, observing what changed, as the diameter increased. Similarly we used sleeves of different external diameters, so as to vary chimney depth.
The first thing that this exercise will teach, is that it's possible to get a sound, sometimes a surprisingly good sound, from almost any size and shape of "embouchure". The second is that changing parameters in a direction which makes things better, only does so up to a point. To illustrate. A very small, say 6 mm embouchure, is almost impossible to play, but small increases in diameter lead to increasing facility and ease, until at about 14 mm, control becomes increasingly difficult. Of course it's impossible to separate the two basic parameters under discussion, because an embouchure is by its nature three dimensional, but at least we can vary one at a time and keep the other one constant.
The point of all this is to demonstrate the complexity of the embouchure even at this very basic level of the parameters of size and chimney depth.
Consider that other parameters that need to be taken into account in properly functioning embouchure include shape, and not just on the basics: is it oval or square/rectangular etc. because for example there are long ovals, and almost circular ovals, close to pure rectangles and even occasional squares, there are these shapes with curved sides, almost blending into the oval, and so on. Then the undercut, as the way in which the embouchure expands towards the bore is called. This is usually different on the back, front and both sides, it can be straight or curved, curving more towards the outer surface or towards the bore, sometimes giving a slight "reverse" expansion. Another major consideration is how the different undercuts blend with each other. Extremely important are the edges where the embouchure meets the bore, and where it meets the surface. These can be sharp or rounded, and again they are different front, back, and sides. Finally, remember that all these parameters interact with each other with varying complexity.
All this might lead one to wonder how on earth anyone can actually cut an embouchure, let alone learn to do it, but it bears consideration that in the account above, I'm deliberately emphasising the complexity, and intellectualising something that in practical terms is much simpler. Consider the art of reed making. Without the ability to make a reed, bagpipes, oboes, clarinets, bassoons, and many more would remain silent. Yet if a potential reed maker was to take the analytical, acoustical approach ( Benade, for one, has a lot to say about the acoustics of the reed) I'd suggest they would remain so. So how does the nascent flute maker approach this whole area?
In a similar way to that in which the current makers of simple system flutes began by copying historic flutes, they also copied the embouchures as best they could, given the caveat of mostly not knowing precisely what they were copying, but rather relying on what worked and what didn't. This is perhaps the major area in which it's essential that the flute maker is also a player, and not only that but a player in the tradition in which the flute is intended to be used.
By whatever means, the contemporary makers learned to make embouchures that fitted into what might be called, to borrow a phrase from astronomy, the Goldilocks Zone. The embouchure was somewhere in or around 10mm x 12mm, undercut a little more on the blowing side than the back, and perhaps less again on the sides, which might not be exactly equal in that sense. Other parameters, as mentioned above, would vary more according to the maker. I can only speak here for the makers of modern simple system flutes, and not those who make historical copies for the early music enthusiast. They are much more restricted.
In my own work, I like everyone else began by copying as exactly as I could, but as I gained in confidence and moved away from copies I came up with an embouchure design which was in essence quite different physically and in concept from most other embouchures. Here's what I said about it in the "Irish Flute Player's Handbook" ( 2nd ed. 2008 )
"I pondered for many years about how to make a head which would incorporate the features that I wanted, such as a deep chimney, and an overcut, but which were easy enough to produce to allow me to use such a head as standard, and also were still basically of the standard rather than thinned head appearance"
(I had just been discussing how a thinned head was allowing me to include certain embouchure design parameters, but was looking for something less expensive and time consuming for standard instruments)
"Eventually in about 2000, I came up with a solution which has worked very well. The germ of the idea had been with me for a long time...there are drawings in my workshop notebook dating from early 1984 which state the basic idea. Normally the pilot hole for the embouchure is drilled in the centre of the head, i.e., it is centred on a radius of the head. This means that the initial chimney depth is equal on both the front and back of the embouchure. It occurred to me that if I shifted the axis of this pilot hole away from the centre in the direction of the side the player blows against ( in essence drilling the axis on a chord to the head circumference ) that two results would be achieved. Firstly the chimney is deeper than for a hole drilled on the centre, and secondly, when the normal undercut is made, the included angle is smaller, giving the same effect as an overcut. From the player's point of view, the effect is a noticeable improvement in response, similar to that achieved by a thinned head. The fact that the improvement is still obvious when features such as the pitch of the instrument or the shape of the embouchure are changed indicates to me that the embouchure parameters have been changed in a basic way, and this explains why an embouchure cut on the above basis works for a piccolo with an oval embouchure, or a low Bb with a square one."
Other aspects of this embouchure were a quite severe undercut on the blowing side in contrast with an almost vertical back and sides, the idea ( perhaps fanciful ) being to push the air forward against the edge where the vibration of the air reed was driving the sound production. The important thing was that it worked.
Because the embouchure was quite differently undercut on the across the flute axis, it necessitated cutting it "in reverse" for the left handed player...of which there are many in the Irish tradition. This led to several interesting observations. When I'm cutting an embouchure, I bring it as close as I can, by measurement and observation to what I want, and then I begin the final tweaking process, which involves playing the flute, and making the final adjustments to the embouchure, normally careful modifications to the edge profiles. So when it came to a left handed flute I had to make those final adjustments blowing the instrument in a way that is very counter-intuitive for me, but I managed to teach myself to do this. In fact what I would do, is to blow the embouchure even if left handed, right handedly at first, and then check the final cut by blowing it left handed. That I could get to perhaps 95% of where I wanted to be blowing the "wrong way", indicated to me that perhaps the degree of undercut was less important than claimed, and also called to mind the number of players who quite successfully played right handed flutes left handed. This included a few of my own customers who being left handed and having bought pre-owned right handed flutes, preferred to stay with the "wrong" embouchure when offered the choice.
Around this time as well, the letter that Benade had written discussing the embouchure cut in great detail became available and I began to give the ideas in it serious consideration. ( See post of the 17/8/19 ) The first thing that I began to realise was that my "own" embouchure design was almost exactly that of Benade's switched back to front...which perhaps to some extent accounted for the "playable in reverse anecdotes above. Secondly I began to wonder, if the volume of the space created by the embouchure was more crucial than had been realised, because of course this was one parameter which didn't change when the embouchure was reversed. Not being an acoustician, I also wondered if this had any relationship to the fact that the relationship between the air volume contained between the blades of a double reed and that of the bore appears to be absolutely crucial for double reed instruments of all sorts. ( See Benade's The Fundamentals of Musical Acoustics )
Given how important the embouchure is to the flute, it's not surprising that flute makers have come up with both ways to repair damaged embouchures, and to replace them if required.
This technique is called bushing, and basically consists of drilling a hole larger than the existing embouchure and filling this with a "bush" in which the new embouchure is then cut. In almost all circumstances, the bushing material is different to the original head material, being usually ivory, or horn. Apart from the decorative and aesthetic possibilities that this gives, it also reflected the fact that a small piece of wood would have little strength if worked on to any extent before it was inserted.

In this case the bushing tapers in as it approaches the bore in the opposite sense to the embouchure itself.


In this case the bushing tapers in as it approaches the bore in the opposite sense to the embouchure itself. You can see how this means that there is actually very little material in the bush itself. It's hard to make out if these bushes were largely finished before they were inserted, or inserted with a pilot bore worked in place.


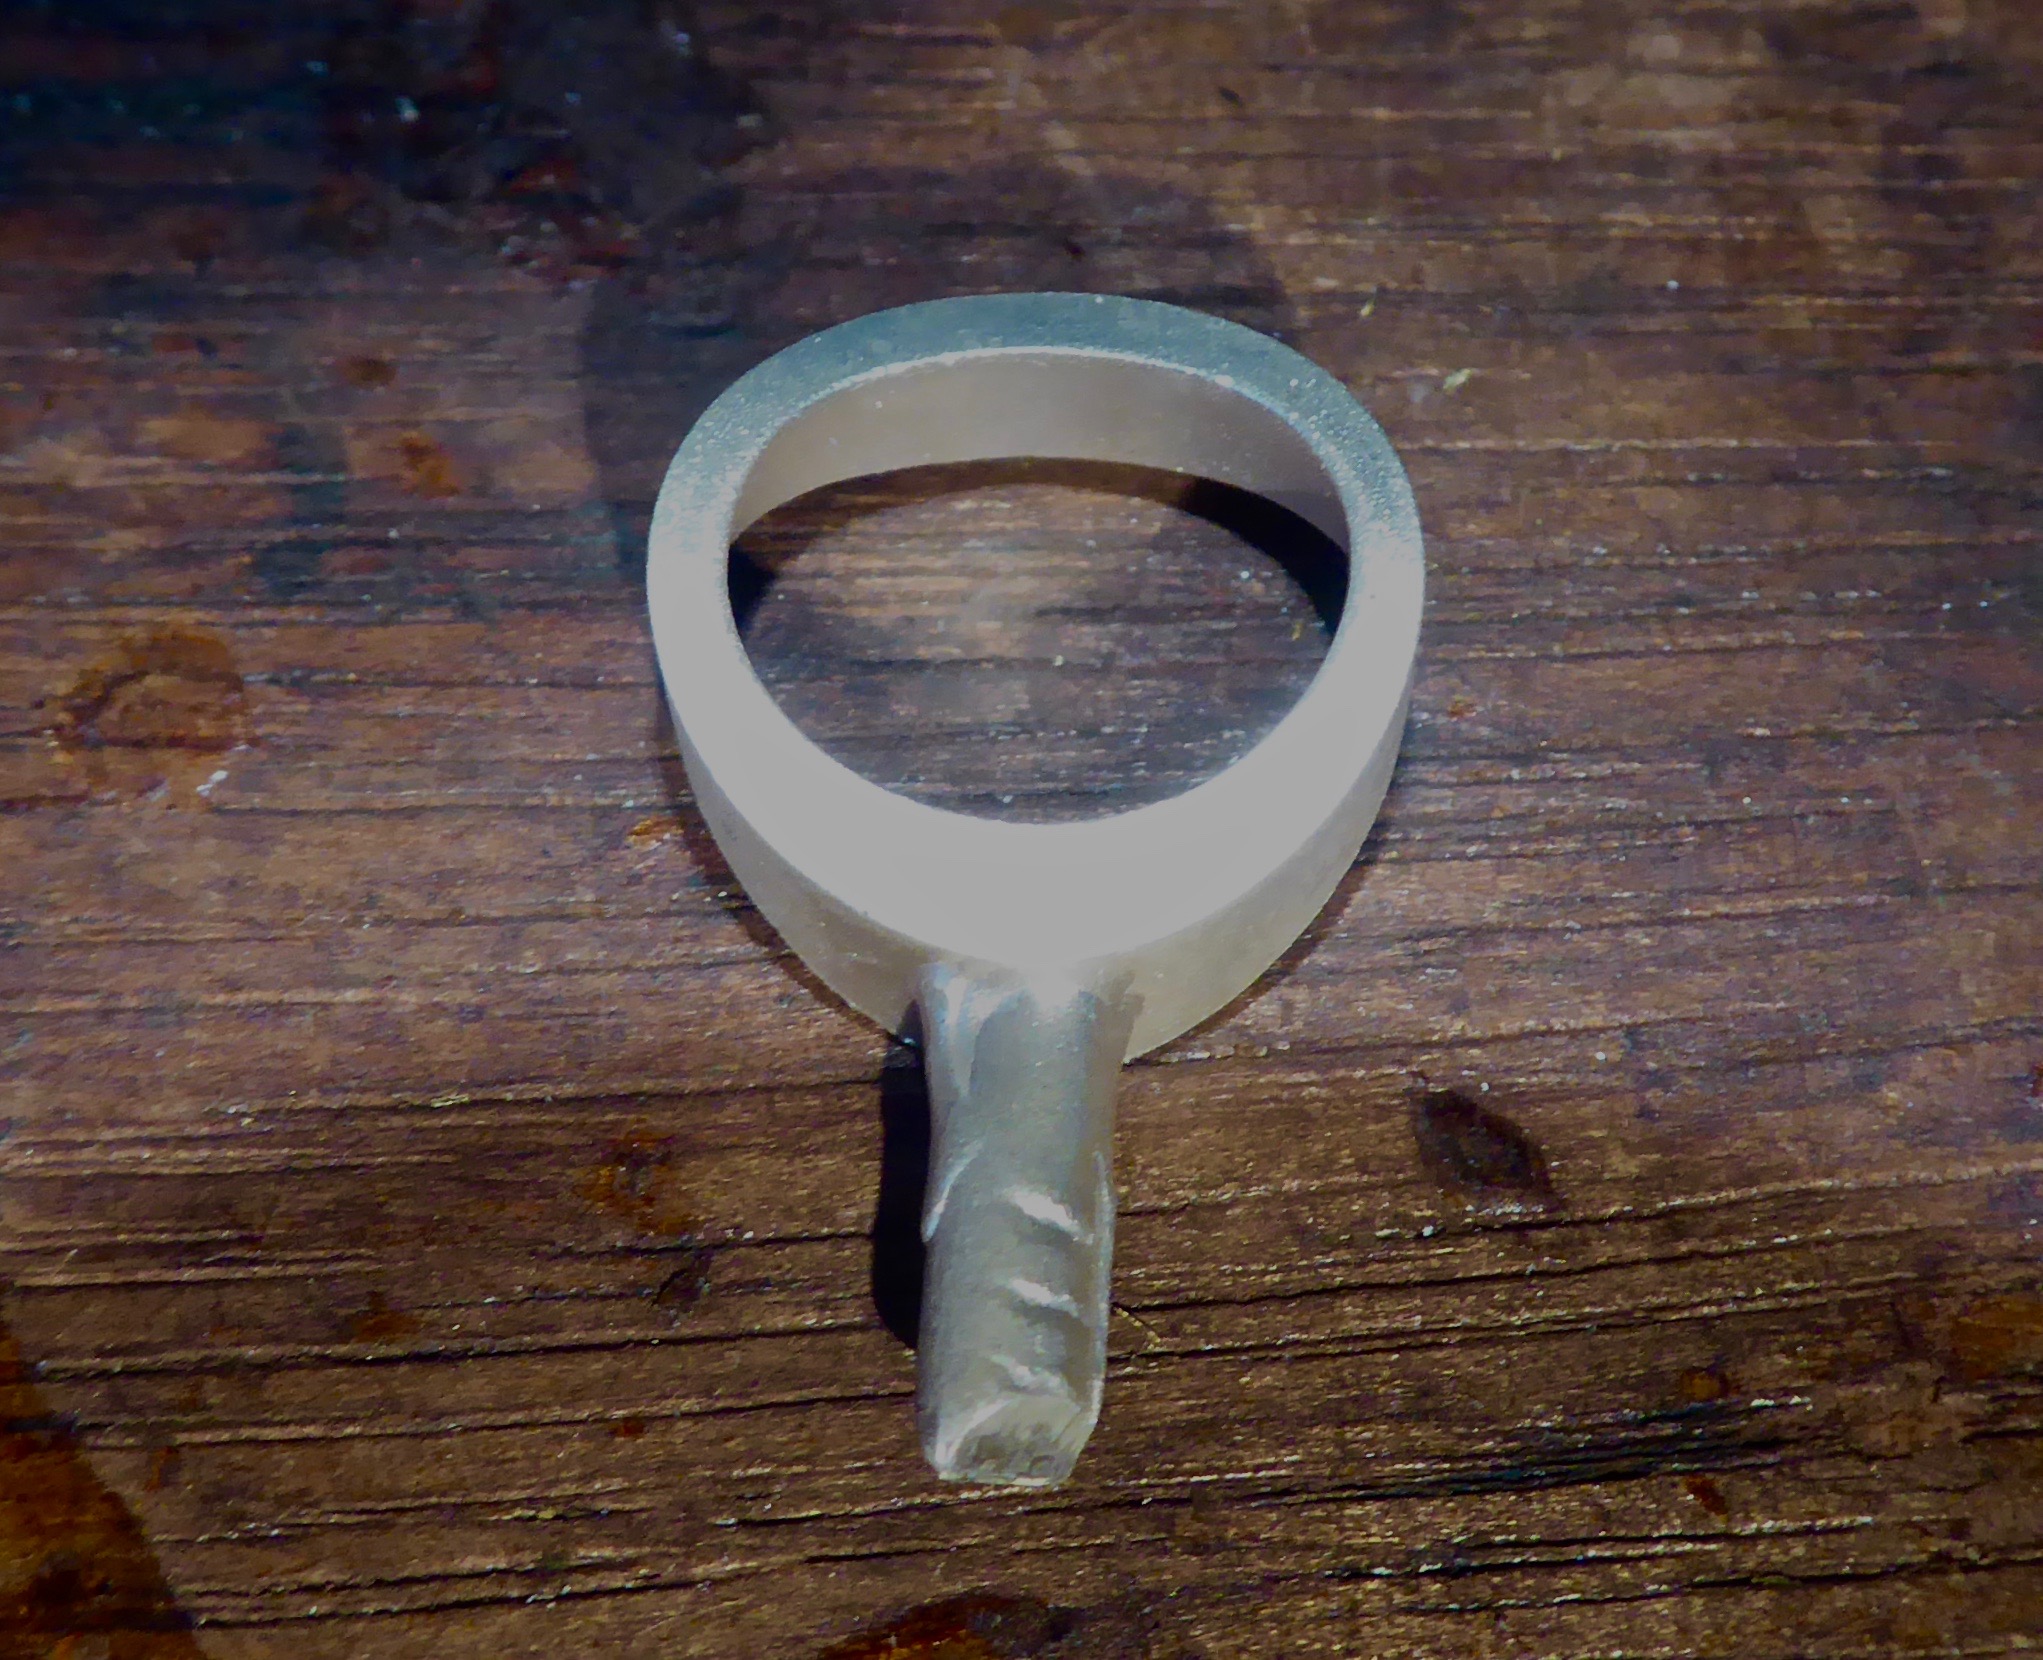
The material to use was initially an issue. At various stages in my career I had thought of getting different components cast or moulded, but the problem was always one of proportion. These processes are only practical when many many thousands of units are required, when the cost falls to a few cent each. The answer was obviously to use a process where the production of a limited number of pieces didn't imply a prohibitive cost, and yet used a material which was at once both practical and aesthetically pleasing. So enter the silver cast embouchure.